How to Maintain Texture While Smoothing Skin in Portraits
How to Maintain Texture While Smoothing Skin in Portraits
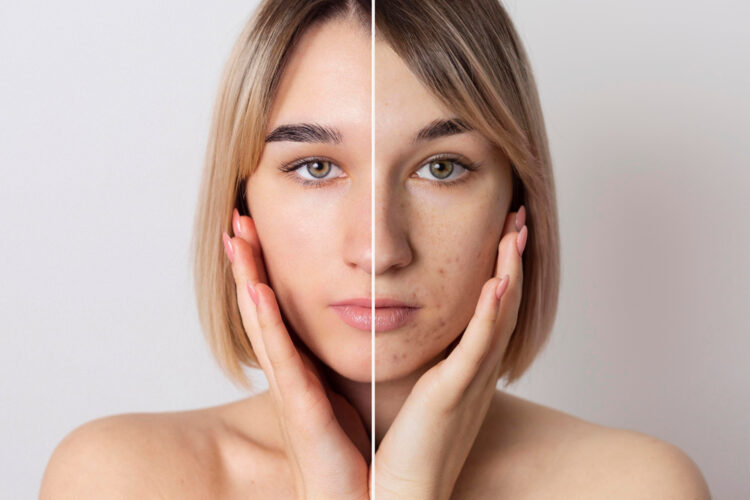
When editing portraits, achieving smooth, radiant skin is often a priority—but overdo it, and your subject can start to look plastic or unnatural.Maintaining natural skin texture while reducing blemishes, wrinkles, and uneven tones are some of the biggest challenges in portrait retouching. Whether you’re a professional retoucher or a photographer handling post-production yourself, here’s how you can strike that perfect balance.
Why Skin Texture Matters
Skin texture is what makes a portrait feel real and relatable. It reflects pores, fine lines, and natural grain that tell the story of a person’s character and age. Removing all of it in the quest for “flawless” skin leads to unnatural results that distract rather than enhance. The goal should be refinement, not replacement.
Techniques for Smoothing Skin Without Losing Texture
1. Start with Frequency Separation
Frequency separation is a popular technique among professionals because it lets you edit texture and tone separately.
-
High frequency holds the skin’s texture (pores, fine lines).
-
Color and tone are contained at low frequency (shadows, blotchiness
By working on these layers independently, you can smooth out skin tone on the low frequency layer while preserving pores and texture on the high frequency one. Use a subtle touch—avoid blurring the texture layer or you risk a doll-like finish.
2. Use the Healing Brush or Clone Stamp Sparingly
The Healing Brush Tool (in Photoshop) is effective for removing small blemishes, but using it excessively can flatten texture.
-
Zoom in to 100% and target only spots like pimples or stray hairs.
-
Work on a new blank layer set to “Sample: Current & Below” to preserve flexibility.
Remember: The goal is correction, not over-correction.
3. Try the ‘Dodge and Burn’ Technique
This classic method works wonders for evening out shadows and highlights without touching the skin’s texture.
-
Use a soft brush set to low opacity on separate dodge (lighten) and burn (darken) layers.
-
Gently work on uneven skin areas to reduce contrast caused by blemishes or wrinkles.
Dodge and burn provides high-end editorial results when done properly, despite its time-consuming nature.
4. Avoid Overusing Blur Tools
Tools like Gaussian Blur or Surface Blur can quickly eliminate imperfections—but they also wipe out important details.
If you must use them:
-
Mask out textured areas like under the eyes, forehead, and cheeks.
-
Lower opacity or use the “Fade” command to blend the effect more naturally.
For better control, use Frequency Separation instead of direct blur.
5. Texture Recovery: Adding Grain Back
Sometimes, a bit of texture may be lost despite your best efforts. In such cases, add a slight noise or grain layer:
-
Create a gray layer filled with 50% gray.
-
Add noise (1–2%) and set the layer to Overlay or Soft Light.
-
Mask it selectively over areas where texture looks too smooth.
This trick helps restore a more natural skin feel.
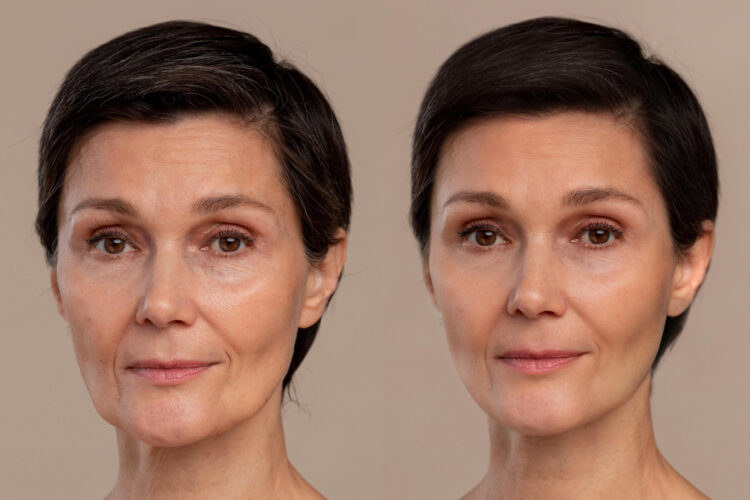
Final Touch: Zoom Out and Compare
After finishing your retouch, always zoom out and compare before/after images. Ask yourself:
-
Does the person still look human?
-
Is the texture consistent with the rest of the face?
-
Would someone who knows the subject recognize them?
Natural-looking portraits depend on restraint and detail orientation—your best tools are your eyes and judgment.
Bonus Tip: Outsource for Precision and Speed
If you’re a busy photographer or brand dealing with bulk edits, consider outsourcing retouching work to a professional image editing company. Companies like Outline Media Solutions (OMS) specialize in high-end retouching that preserves natural skin texture while refining every detail.
With over a decade of experience, OMS offers:
-
Manual frequency separation
-
Techniques for advanced dodge and burn
-
Texture-safe skin tone correction
-
Fast turnaround times with consistency
Whether you’re editing model shots, weddings, or corporate portraits, Outline Media Solutions ensures quality without compromise.
Conclusion
Smooth, beautiful skin in portraits doesn’t have to mean plastic, poreless faces. With the right techniques—like frequency separation, dodge and burn, and mindful use of healing tools—you can enhance your subject while maintaining realism. Remember, true beauty lies in natural detail—not digital perfection.